RAID and Server
Data Recovery
We recover failed RAID arrays and servers of every level and configuration, safely handled in our British Columbia lab.
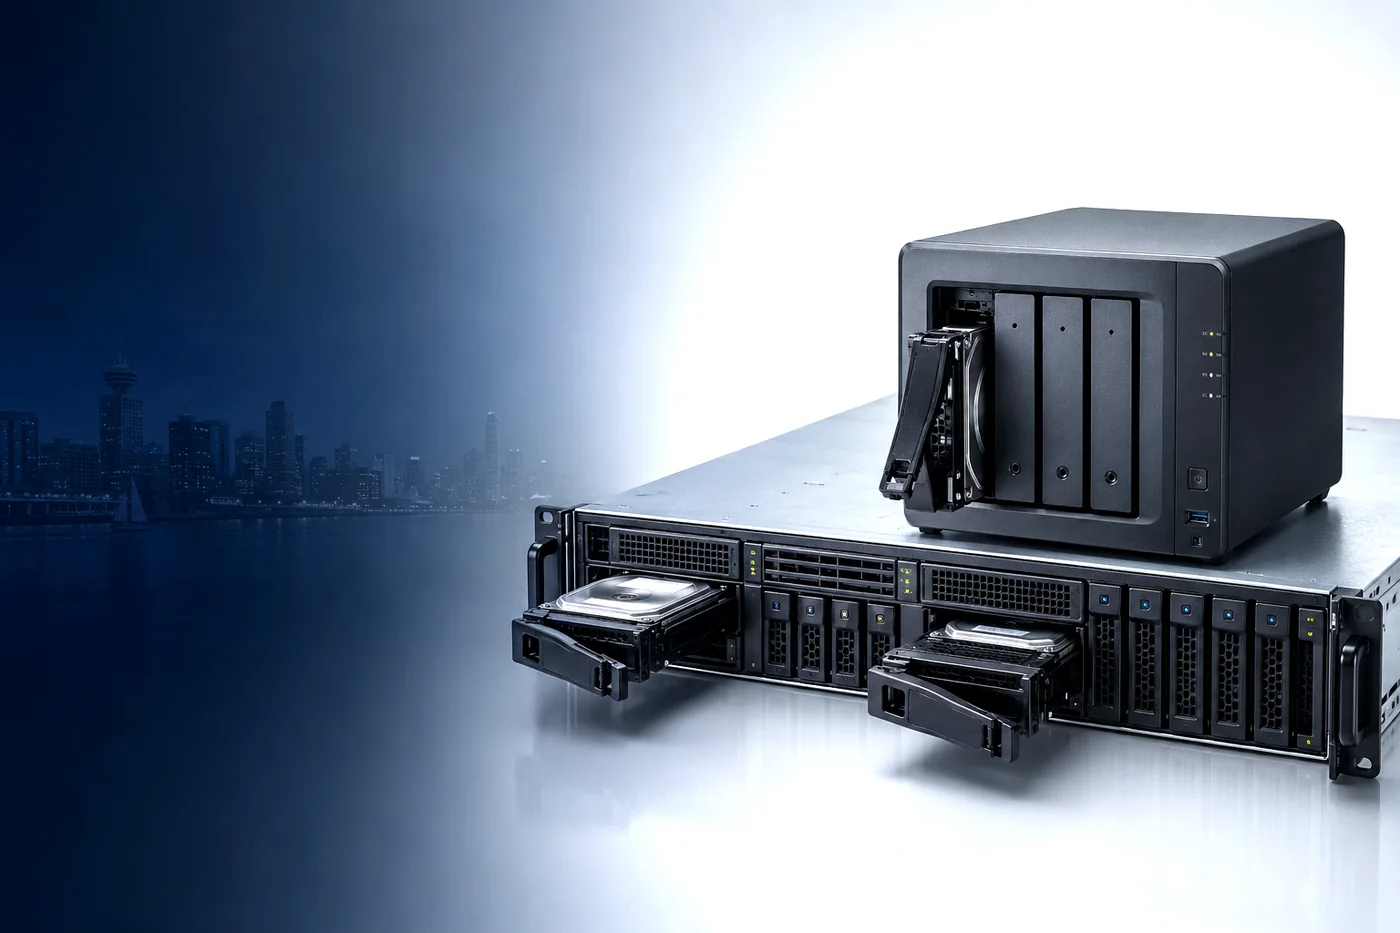
We Recover Data From All RAID and Server Systems
From small-business NAS units to enterprise rackmount servers, our BC lab handles every kind of array and configuration.
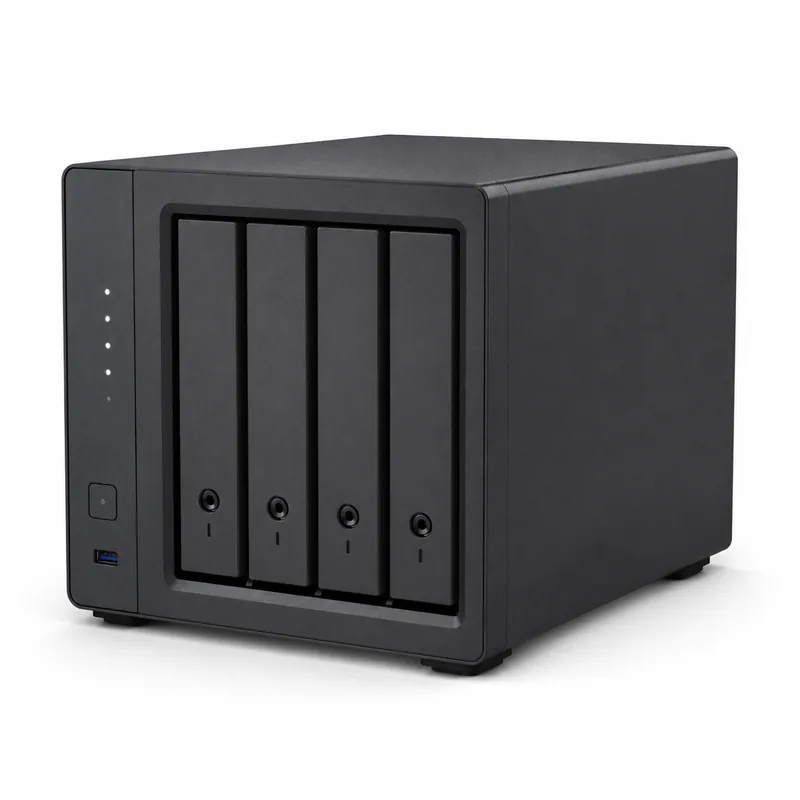
NAS Devices
Synology, QNAP and other multi-bay network storage.
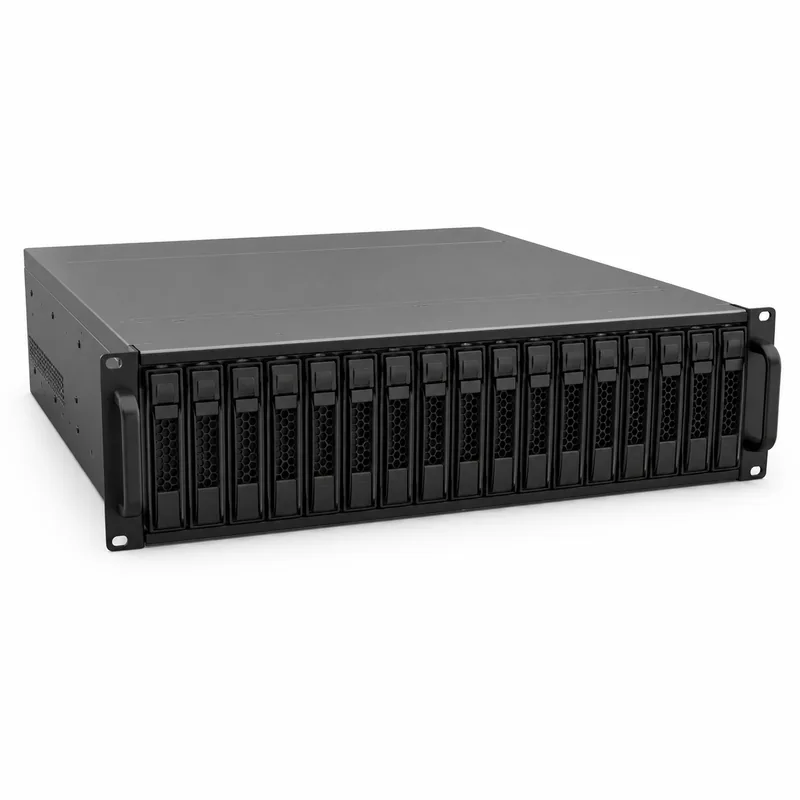
Rackmount Servers
1U/2U servers and enterprise storage systems.
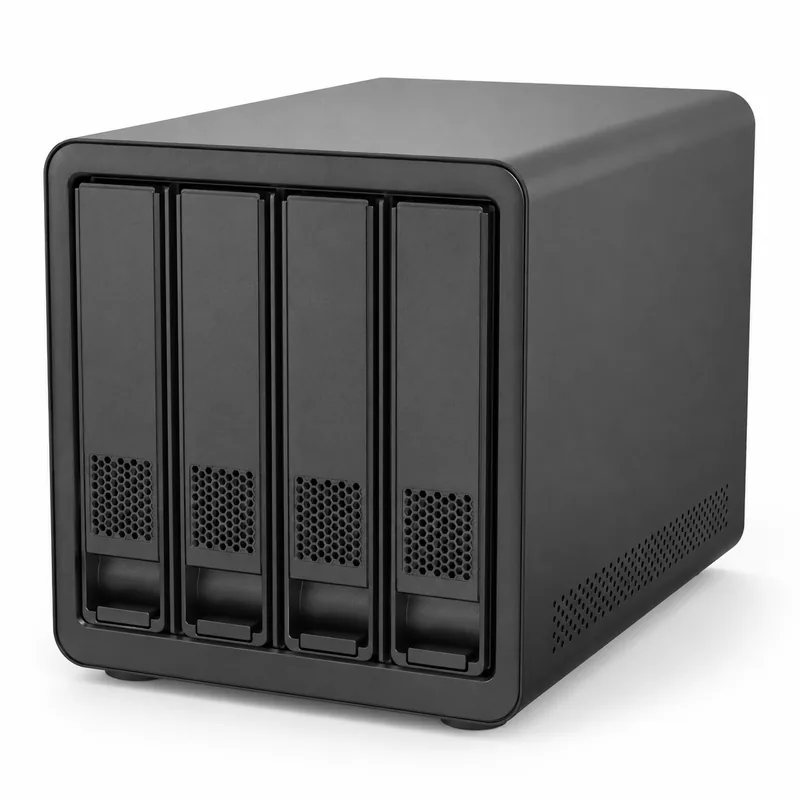
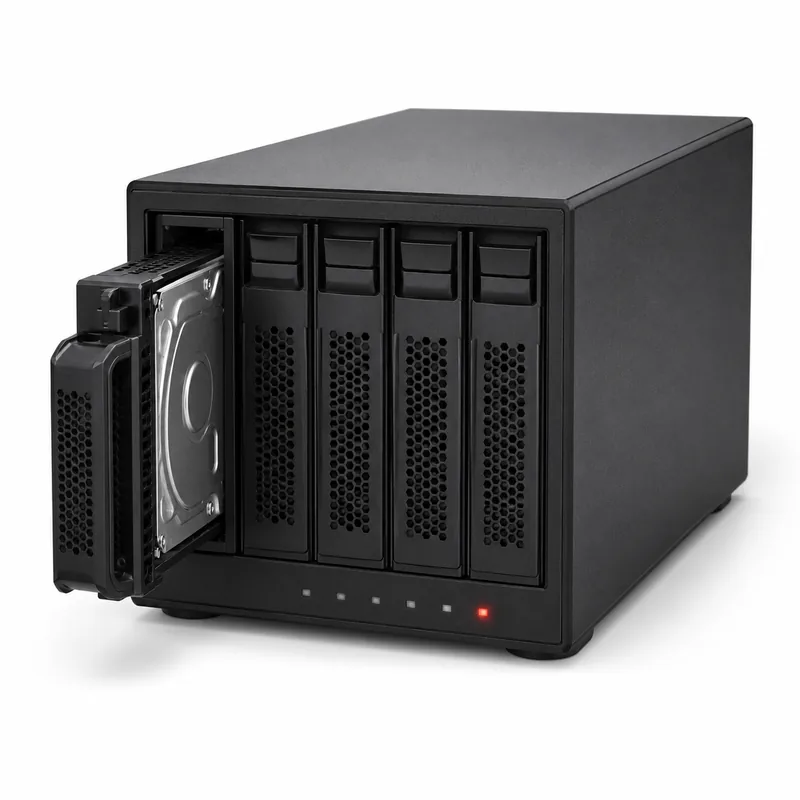
RAID Enclosures
Direct-attached desktop RAID boxes, 2 to 8 bays.

Multi-Drive Arrays
Striped, mirrored and parity sets of all sizes.
Failed & Degraded Arrays
Dropped drives, failed rebuilds and offline volumes.
Understanding RAID
In order to understand the ways a RAID system can fail, and how TeraDrive can work our recovery magic on them, a basic understanding of how they work is needed.
There are two metrics of performance that should be looked at when choosing any kind of storage method: read and write speeds. When it comes to RAID, what’s important to know is that, in terms of necessary computing power, reading is a fairly simple task, while writing is a more intensive and demanding operation.
Put simply, writing refers to the changing of values, or alteration of information, on the disk. Reading refers to accessing any of this information. Depending on the needs of the RAID user, the array will be set up to accommodate their specific requirements, and find a balance between the read/write speed and the reliability, or redundancy, of the stored data. In general, the term “redundancy” in RAID means the number of drives that can fail, without it affecting the integrity of the data and the operation of the raid. All three of these parameters are important when it comes to choosing a RAID system.
Common Types of RAID Arrays
Although the exact specifications of a RAID array are flexible depending on an organization’s needs, the kinds we see the most often are:
Striped set / striped volume
RAID 0, otherwise known as a striped set or striped volume, stripes, or splits, your stored data across two or more disks. This setup has one major advantage: speed. For this reason, it can be a very useful tool for anything that requires rapid reading, such as live streaming with high quality video, scientific computing, online gaming, working with large databases, or other functions where speed and performance are the foremost concerns. The major downside of a RAID 0 setup is the redundancy. What this means is that when one of the disks in your RAID 0 array fails, the entire array’s data will no longer be accessible. In order to recover the lost data and get the array up and running again, the failed drive will have to be restored by a data recovery team.
Mirror
This setup operates with two or more disks containing an exact copy of another disk. Because the data is redundantly mirrored across each of the disks in the array, this is a much more reliable option than RAID 0. It’s also a great option for scenarios where read performance is a priority, and when data reliability and redundancy is the utmost concern. However, there are downsides. For one, it’s a less efficient RAID financially, since you’re paying for two or more drives just to get the storage capacity of a single disk. You also need to monitor them more closely than other setups. Because each disk contains the same information as the others, it’s possible for your disks to fail without any alert to the user, leading to a major problem when your final drive fails and you realize you’ve lost your data.
Striping with parity
RAID 5 is one of the most popular setups we see in the course of our work. Consisting of at least three drives, a RAID 5 array’s algorithm uses a specialized block called ‘parity’ to equally divide your data amongst your operating drives. This way, a single one of your RAID 5 drives can fail, and be replaced, without any loss of data. The parity algorithm will ensure a complete copy of the data is maintained on the remaining disks, and redistribute it when it detects that the failed drive has been replaced. In a way, a RAID 5 setup has the ability to rebuild itself, making it a great option for those needing a good balance between performance (speed) and redundancy (reliability).
Double parity
RAID 6 is very similar to RAID 5, with the notable difference that two of your drives can fail without any data loss and the system will keep working normally, rather than a single one as in RAID 5. The added parity block makes this RAID setup even more reliable than its predecessor and compensates for the slower read/write speed of the array.
Mirrored stripes (1+0)
RAID 10 combines the two approaches above: it mirrors your data (like RAID 1) and then stripes those mirrored pairs (like RAID 0), giving you both speed and strong redundancy. Because every drive has a twin, the array can survive multiple drive failures at once, as long as both halves of the same mirrored pair don’t fail together. This makes RAID 10 a popular choice for databases, busy servers, and virtualization, where performance and reliability both matter. The trade-off is cost: like RAID 1, you only get half your total drive capacity as usable space. When a RAID 10 array fails, recovery depends on correctly identifying which drives were mirror partners and the order they were striped in, which is exactly the kind of reconstruction our lab handles.
Not sure which level you have?
No problem. Bring us the drives and we’ll identify the configuration, assess the failure, and give you a clear quote before any work begins.
Talk to a RAID Specialist| Level | How it works | Min. drives | Drive failures tolerated | Best for |
|---|---|---|---|---|
| RAID 0 | Striping, no redundancy | 2 | 0 | Maximum speed |
| RAID 1 | Mirroring | 2 | 1 per mirror | Reliability, read speed |
| RAID 5 | Striping with single parity | 3 | 1 | Balance of speed & redundancy |
| RAID 6 | Striping with double parity | 4 | 2 | Higher fault tolerance |
| RAID 10 | Mirrored stripes (1+0) | 4 | 1 per mirror pair | Speed + redundancy |
RAID Data Recovery with TeraDrive
Trusted With Failed Arrays of Every Kind
No matter how failsafe your RAID array may be, there’s always a chance of unexpected failure or data loss. At TeraDrive, we’ve successfully diagnosed and restored failed RAID drives after all manner of physical and logical corruptions, helping to get RAID systems of all shapes, sizes, and specifications up and running again.
If you’ve experienced a data loss in your RAID array, don’t panic! When you choose TeraDrive for your RAID data recovery, you’re employing not only our extensive experience of recovering data all across Canada, but also our CLASS 100-compliant clean room, proprietary recovery software, and the most sophisticated data recovery lab in BC’s Lower Mainland. If you’re outside the Lower Mainland, we provide a prepaid Canada Post waybill so you can ship your array to our lab at no cost to you. Once a quote for the data recovery service needed for your RAID array has been approved, we get started on restoring the failed drive(s) and work tirelessly to get you up and running as soon as possible.
Why Choose TeraDrive?
CLASS 100 Cleanroom in BC
Secure, certified environment in British Columbia for safe physical recovery.
No Data, No Fee
If the recovery is unsuccessful, we don’t charge you a thing.
Certified Specialists
Proprietary recovery software and advanced diagnostics for complex arrays.
Secure & Confidential
Your data is handled with the highest level of security and privacy.
Trusted Across Canada
Extensive experience recovering data for clients nationwide.
Our Simple 5-Step Recovery Process
From first contact to recovered files, here is how it works.
Contact Us
Talk with a recovery advisor and get a free quote.
Drop Off or Ship
Bring it to a BC location or ship it with a prepaid waybill.
Free Evaluation
Our specialists perform a no-cost evaluation.
Approve Recovery
We recover your data only once you give the OK.
Get Your Data Back
Securely returned via download or on a drive.
Not Sure If We Can Recover Your Array?
Take our free quick self-assessment to find out.
- Takes less than 2 minutes
- Get an instant assessment
- No obligation
Need to Talk to an Expert?
Our recovery specialists are here to help.
And the best part?
If the recovery is unsuccessful, we don’t charge you a thing. That’s how confidently we stand by our motto:
If you’re experiencing a RAID array malfunction, don’t settle for downtime. Contact TeraDrive today.
Trusted by Thousands Across Canada
RAID & Server Recovery Resources
Lab-tested guides on RAID failure, server downtime, and keeping multi-drive storage healthy.
What To Do When Your RAID System Fails
Read article Shared AccessHow a Failed RAID Array Impacts Shared Access and Backups
Read article MaintenanceSmart Ways to Maintain Your RAID Storage System
Read article Server DowntimeWhat to Do When Your Server Suddenly Stops Working
Read article Data StorageTop Tips for Secure and Effective Data Storage
Read article Related ServiceHard Drive Data Recovery in BC
Read moreRAID & Server Recovery Across British Columbia
We provide professional RAID and server data recovery for clients throughout British Columbia, with convenient drop-off locations in Vancouver, Burnaby, and our main lab in Langley, just minutes from Surrey. You can also ship your array to our lab from anywhere in Canada with a prepaid Canada Post waybill.